Gas Control Valve Oriface Care
Valve Oriface Cleaning
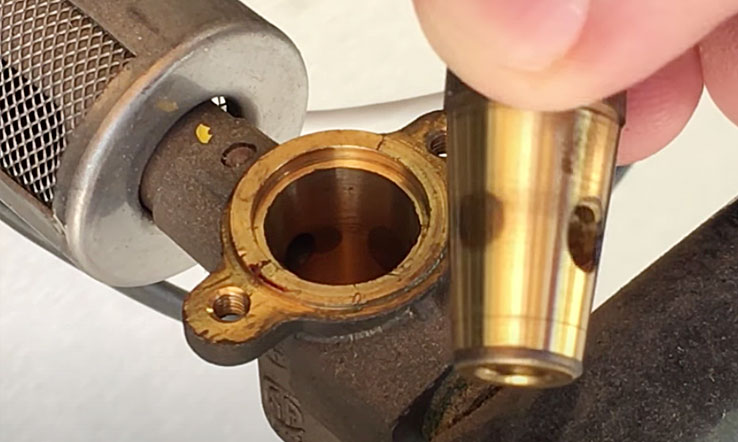
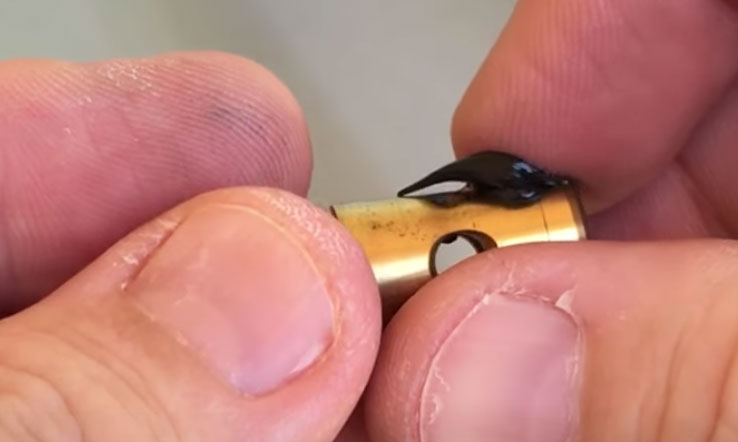
The valve orifice is an integral part of the control valve. Orifices on the valves will sometimes plug from either insects invading through the venturi or from debris inside the supply line. Orifices can be removed for cleaning. Use an orifice cleaning tool or small wire to clear orifice hole. Use caution not to scratch or damage the orifice hole. Do not operate grill without orifice in place. This poses an extremely dangerous fire hazard.
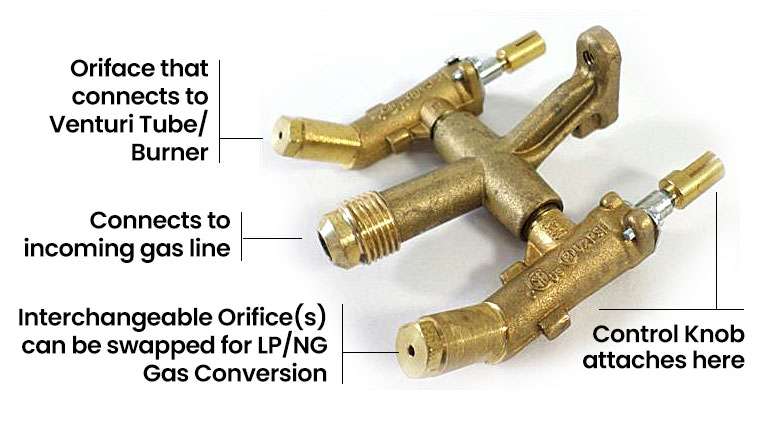
Orifice Size: The orifice, in conjunction with the control valve, acts to regulate and restrict the amount of gas delivered to the burner. The hole size in the orifice varies by the gas supply pressure and by the BTU rating of the burner. Grills equipped for LP gas operate at a much higher gas pressure and therefore have a smaller size orifice.
Control Knobs
Control knobs vary greatly between grill brands. The variances are the knob shaft length, clockwise and counter clockwise bezel, and the OFF position. An incorrect shaft length can prevent the ability to “push-to-turn”. Original equipment knobs grarantee a proper fit and indication. Universal replacement knobs are available that can be set up for most brand grills.
Control Valve Maintenance
Stuck with a Sticky Valve?
Clean and lubricate Control Valves: For those DIY’ers, gather a few products and tools and set your gas grill dials free! Grab a Philips screwdriver, automotive brake cleaner and a bit of brake grease, and get those knobs turning like new.
10 Steps to Fix a Grill Valve
Disconnect Gas Line before you begin!
Below is information regarding an older Weber Genesis valve, but the same information could apply to a variety of valves.
1: Remove Housing
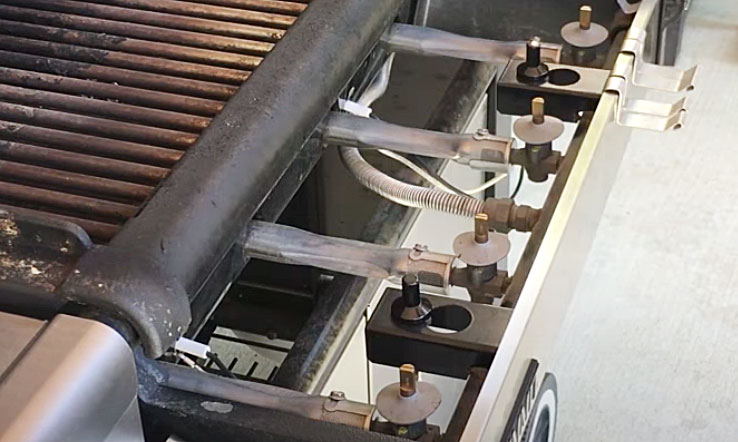
Disconnect gas line. Then, remove panel housing to expose the valve bodies.
2: Disassemble
Remove the screws that hold the valve together.
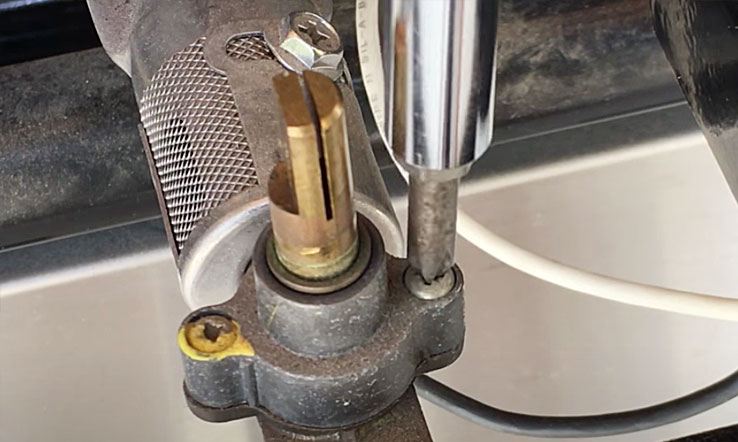
3: Remove Cap
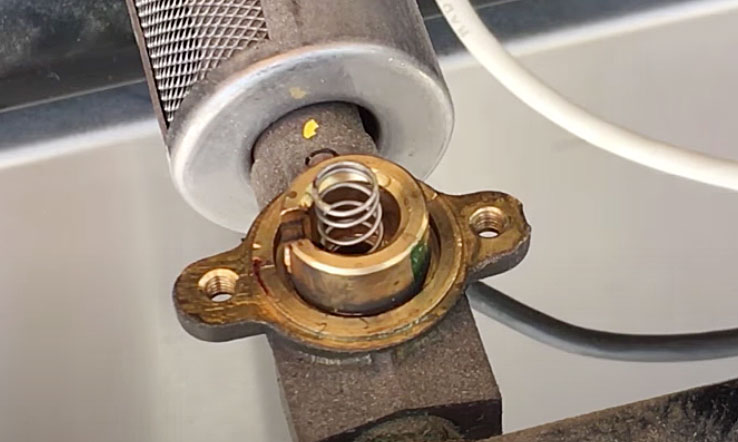
Remove the control cap. Set the spring aside.
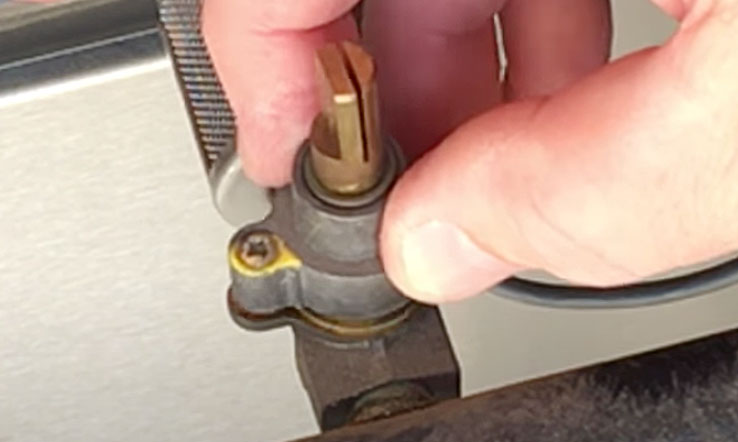
4: Remove Valve
Pull out the cone valve and clean with brake cleaner.
5: Grease Valve
After cleaning, apply a very thin coating of grease to the valve.
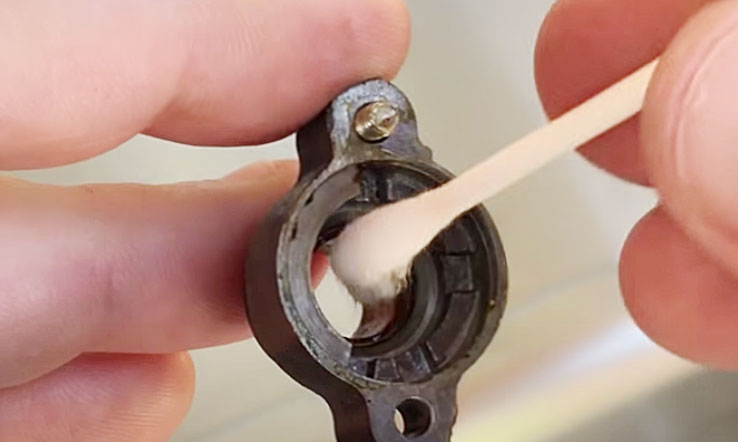
6: Clean Valve Body
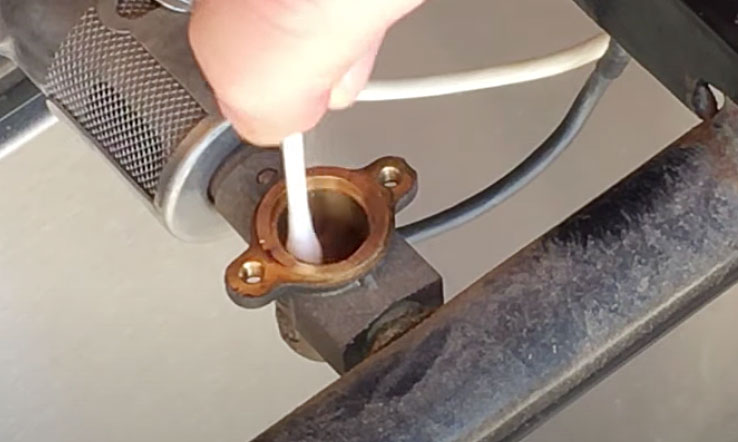
Apply brake cleaner to a Q-Tip, and swab body until clean. Replace the cone valve back into body, along with spring.
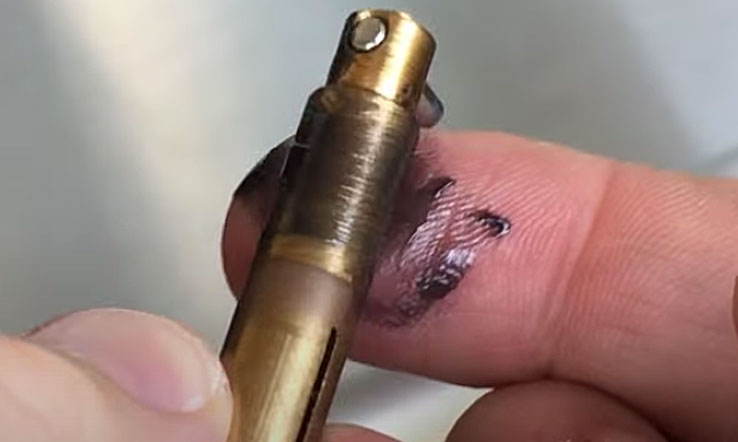
7: Remove control Stem
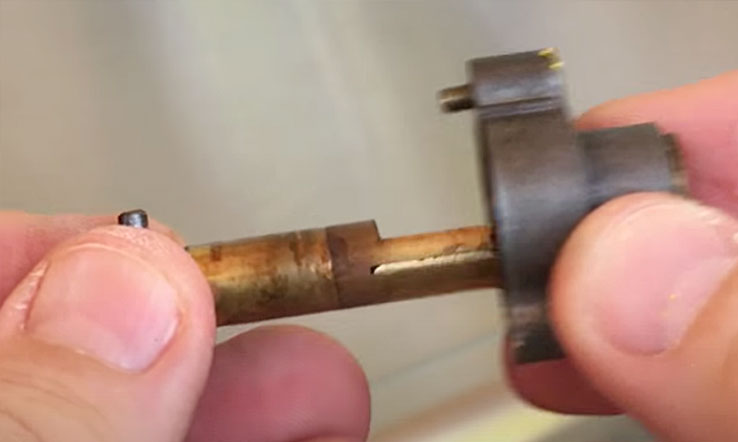
Push the stem through the valve cap, and clean the stem with brake cleaner.
8: Clean Valve Cap
Apply brake cleaner to a Q-Tip, and swab inside the cap where surfaces mate.
9: Grease the Stem
Apply a light coat of brake grease to valve stem where it seats. Place the Stem back through the cap.
10: Reinstall Cap
Align the stem into the cone valve, and reassemble. Don’t forget the spring! Repeat the process for each valve.